 |
How to Use Tape Splicing Tool TopLine Home |
|
| email: sales@TopLine.tv PDF Version | ||
|
|
||
|
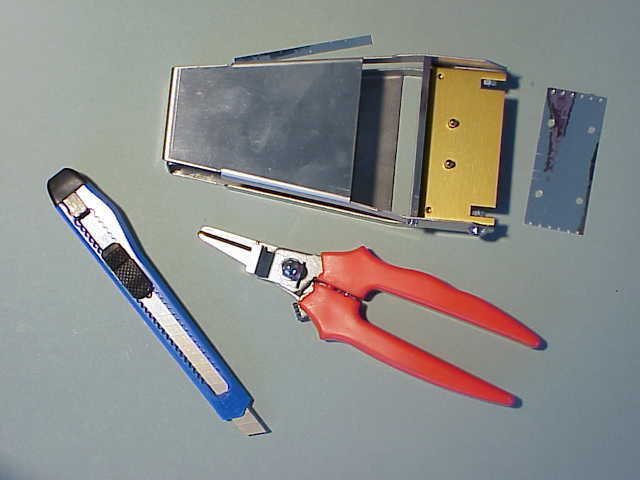
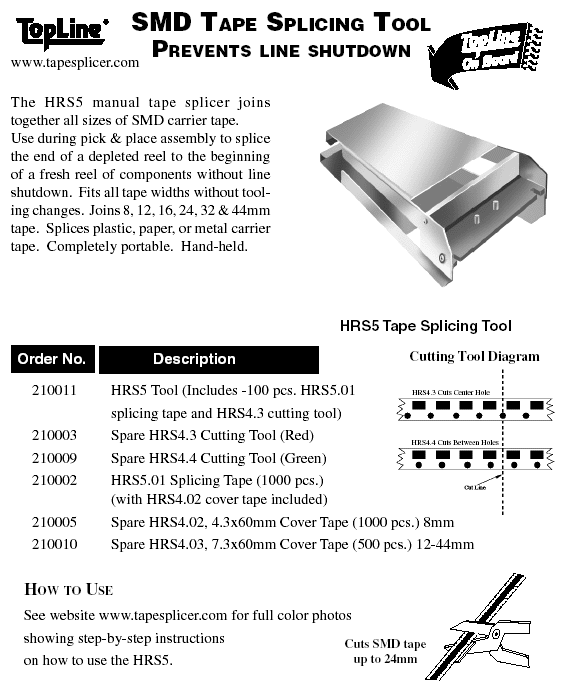
The Tape Splicing Tool is used
for attaching the end of a depleted reel of
components to the beginning of a new reel
without stopping the pick and place
machine......Contents of 210011 Tool Kit
includes: slicing tool, cutting tool,
100pcs Slicing Tape, Cutting knive, and
100pcs of extra long splice for wider carrier tapes
(optional use).
|
|
|
Cutting Tool is specially
designed for precise cuttng of
SMD Carrier Tapes prior to splicing.
The HRS4.3 has alignment pegs for
cutting through the center
of the sprocket hole on the carrier. The
HRS4.4 (not shown) cuts the carrier
between the holes. Both tools are designed
to cut all sizes of carrier from 8mm to 56mm
wide. the HRS4.3 is included with the kit.
The HRS-4.4 (green handle) may be purchased optionally.
|

|
|
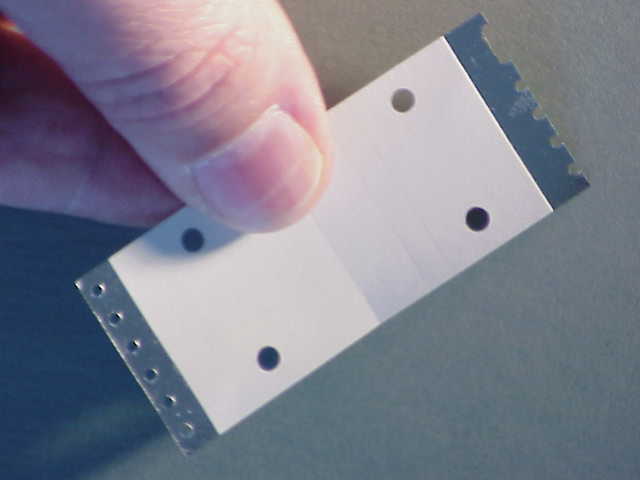
HRS5.01 Slicing Tape. To begin the
splicing procedure, first remove protective
liners from both ends of the Slicing Tape.
|
|
|
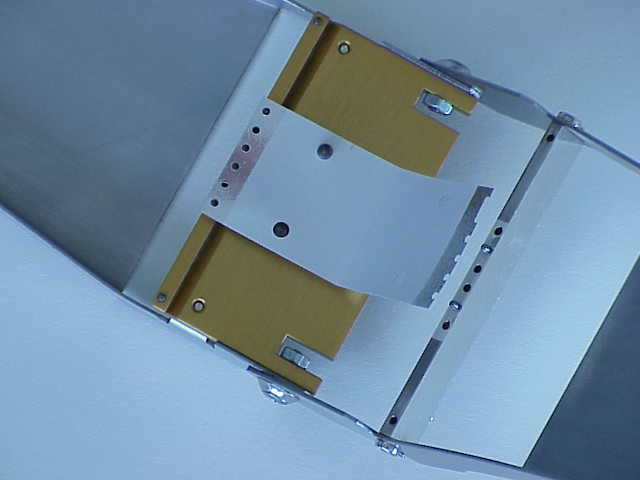
Place Splicing Tape in Tool with
closed circles over the pins.
|
|
|
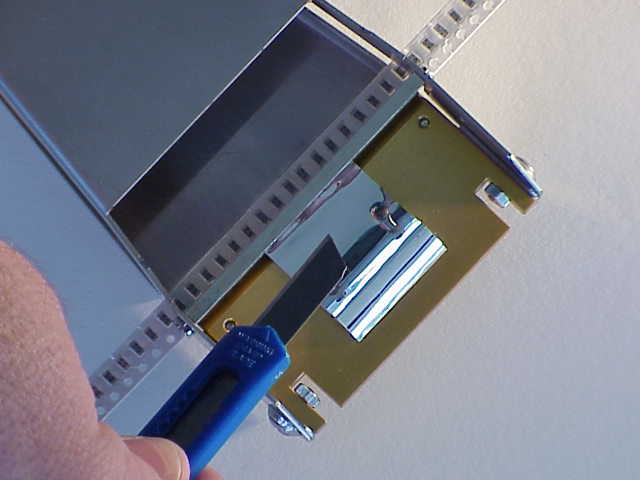
It is recommended to loosen the cover
tape by lifting it with a knife about 1/8-inch
(3mm) from beginning of the NEW reel.
Place the carrier tape over the pins on the
Tool.
|

|
|
Place end of OLD reel over the pins to
make a near seamless joint.
|

|
|
Close the jaws of the Tool. Using a sharp knife, cut off
excess Splicing Tape. Use the alignment
notch on the Tool to steady the knife blade
as you cut off the excess Splicing Tape.
|
|
|
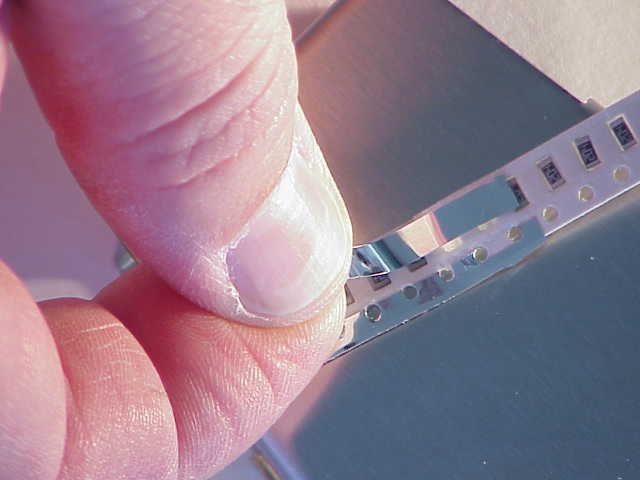
Place narrow strip of spicing tape over
the covers of the joined tape.
The narrow splicing tape is for 8mm
carrier tape. Use the wider strip of
splicing tape for >12mm carriers tape.
Extra long splicing strips are included and
are only necessary to use on very wide
carrier tape.
|
|
|
The Splicing procedure is now completed.
Remove the joined carrier tape from
the Splicing Tool and feed into pick and
place machine without line shut-down.
|

|
|
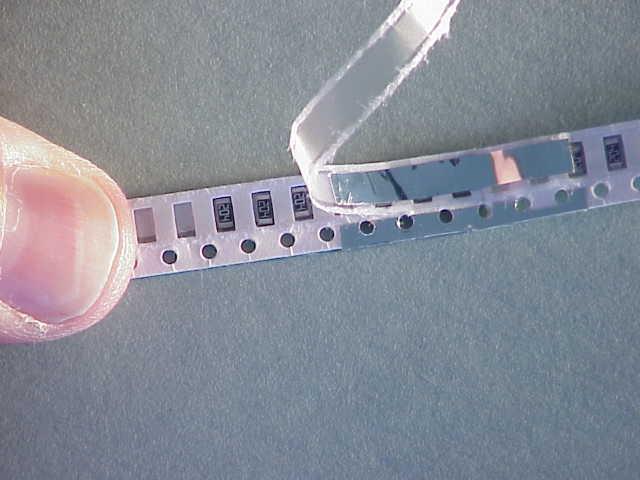
This photo shows an example of the
pull back of the joined cover tape as it
travels over the spliced joint in the
carrier tape.
|
|
|
 Top of Page
 TopLine Home
 |

|
TopLine Corporation 95 Highway 22 W Milledgeville, GA 31061, USA Toll Free USA/Canada (800) 776-9888 International: 1-478-451-5000 • Fax: 1-478-451-3000 Email: Info |